Spring 源码环境搭建
Spring 源码环境搭建
Spring 是面向 Bean 的编程,Bean 在其中起到了巨大的作用,而 Spring 提供了 IOC 容器来管理对象之间的依赖关系,使我们可以更加关注业务,轻松的构建一个企业应用。借助 IOC 特性和 AOP 面向切面编程,可以说 Spring 为开发者提供了无限的可能,接下来我们一步步来揭穿其中的原理,就先从搭建源码开始吧!
1. 环境
- Gradle-5.6.4
- JDK-1.8
- IntelliJ IDEA 2022.3.2
- Spring-5.2.9RELEASE
- Windows 10
2. 构建工具 Gradle
通过官网的源码仓库我们可以知道,Spring 官方构建工具是 Gradle,所以我们构建源码之前需要准备好 Gradle 环境。
2.1 Gradle 下载
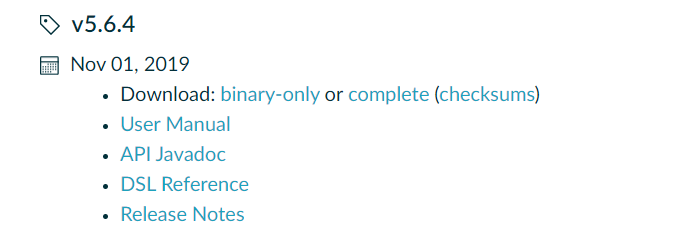
Gradle 下载地址 :https://gradle.org/releases/
选择 5.6.4 下载到本地(尽量使用一致的版本,避免编译失败部分组件无法下载)。
2.2 Gradle 配置
- 配置 GRADLE_HOME:

- 配置 Path:

2.3 Gradle 验证
执行 gradle -v 查看安装情况:
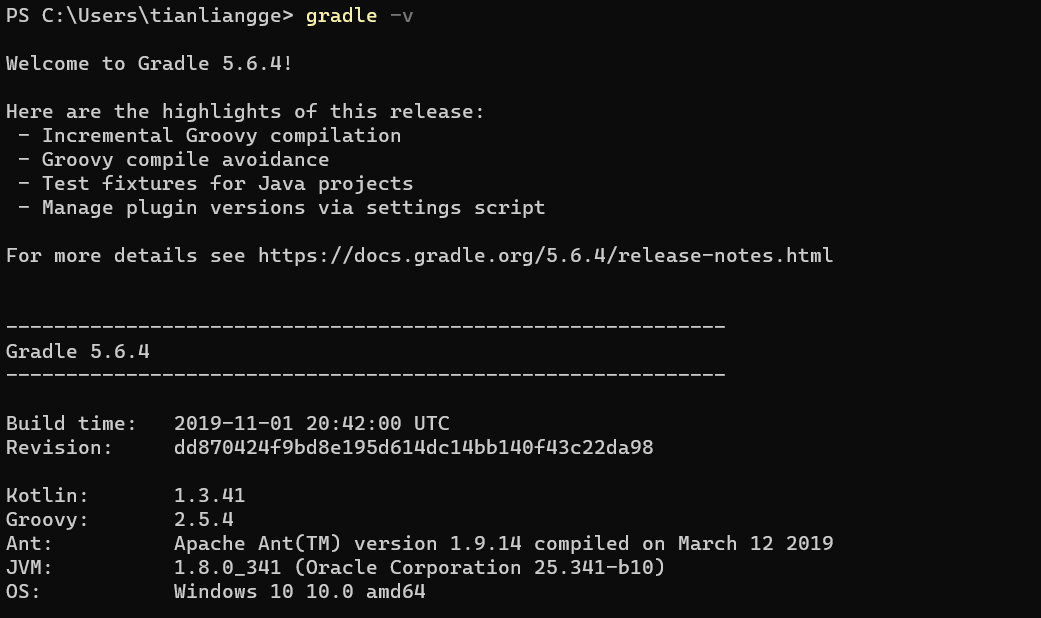
出现上图的输出信息,说明我们的环境准备就绪!
2.4 Gradle 仓库
Gradle 仓库一般都是国外的镜像,为了加速我们的构建,我们将配置阿里镜像仓库进行加速。
- 在 Gradle 安装目录中的
init.d文件夹下新建init.gradle文件,配置阿里云加速器:
allprojects {
    repositories {
        maven { url "https://maven.aliyun.com/repository/central"}
        maven { url "https://maven.aliyun.com/repository/jcenter"}
        maven { url "https://maven.aliyun.com/repository/public"}
        maven { url "https://maven.aliyun.com/repository/google"}
        maven { url "https://maven.aliyun.com/repository/gradle-plugin"}
        maven { url "https://maven.aliyun.com/repository/grails-core"}
        maven { url "https://maven.aliyun.com/repository/spring"}
        maven { url "https://maven.aliyun.com/repository/spring-plugin"}
        maven { url "https://maven.aliyun.com/repository/apache-snapshots"}
        mavenCentral()
    }
}
3. 下载源码
本地我们搭建的环境选择的源码是 Spring-5.2.9RELEASE 版本,尽量和我保持一致,避免出现其他的编译问题。
3.1 Clone 代码
spring-framework 仓库地址:https://github.com/spring-projects/spring-framework
通过 git 命令将代码拉下来:
# clone 代码
git clone https://github.com/spring-projects/spring-framework.git

# 切 tag
git checkout Spring-5.2.9RELEASE -b Spring-5.2.9RELEASE
通过上的命令我们首先将代码拉到本地,然后通过 git checkout 命令切换到指定的 tag 上,并且新建本地 Spring-5.2.9RELEASE 分支方便我们后续进行分支操作。
3.2 编译代码
在 spring-framework源码目录中打开 cmd 命令行,执行 .gradlew.bat 命令进行构建,该过程会持续一段时间,我们不妨去歇下来稍事等待。
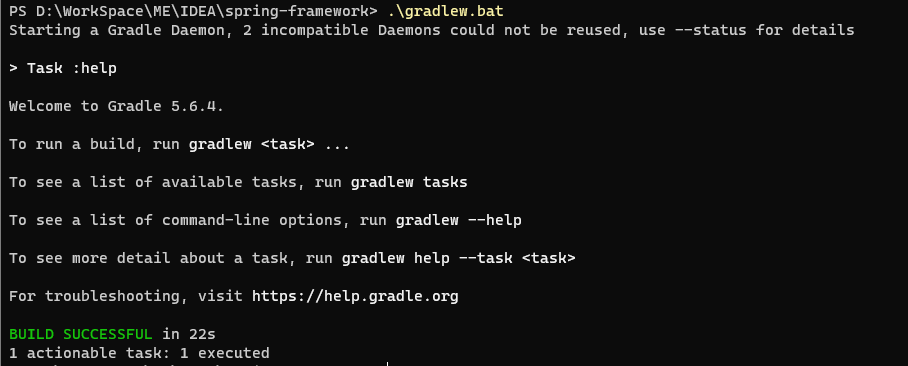
出现 BUILD SUCCESSFUL 表示我们编译过程结束了,接下来就可以导入到 IDEA 中。
PS:
a. 我已经执行过一次编译,所以我的时间是非常快的。
b. 若果编译过程中出现了相关问题,需要根据报错的信息进行排查。
4. 导入 IDEA
使用 IDEA 打开编译好的项目,需要提前配置好 IDEA 的 Gradle 以及 JDK 版本,接下来等待 IDEA build 完成即可:
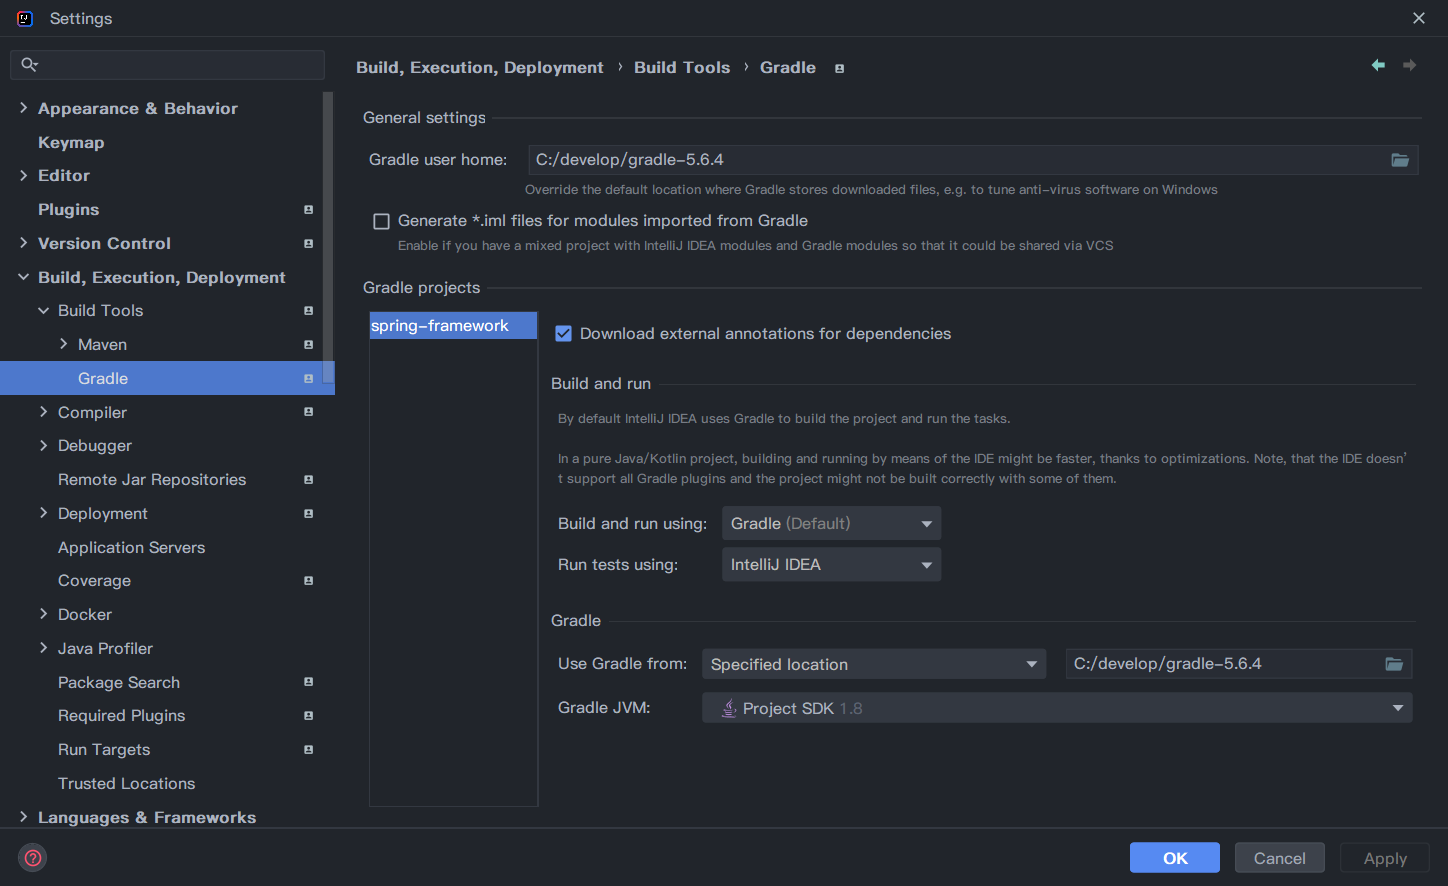

当出现如下信息时,说明 IDEA 导入构建完成:
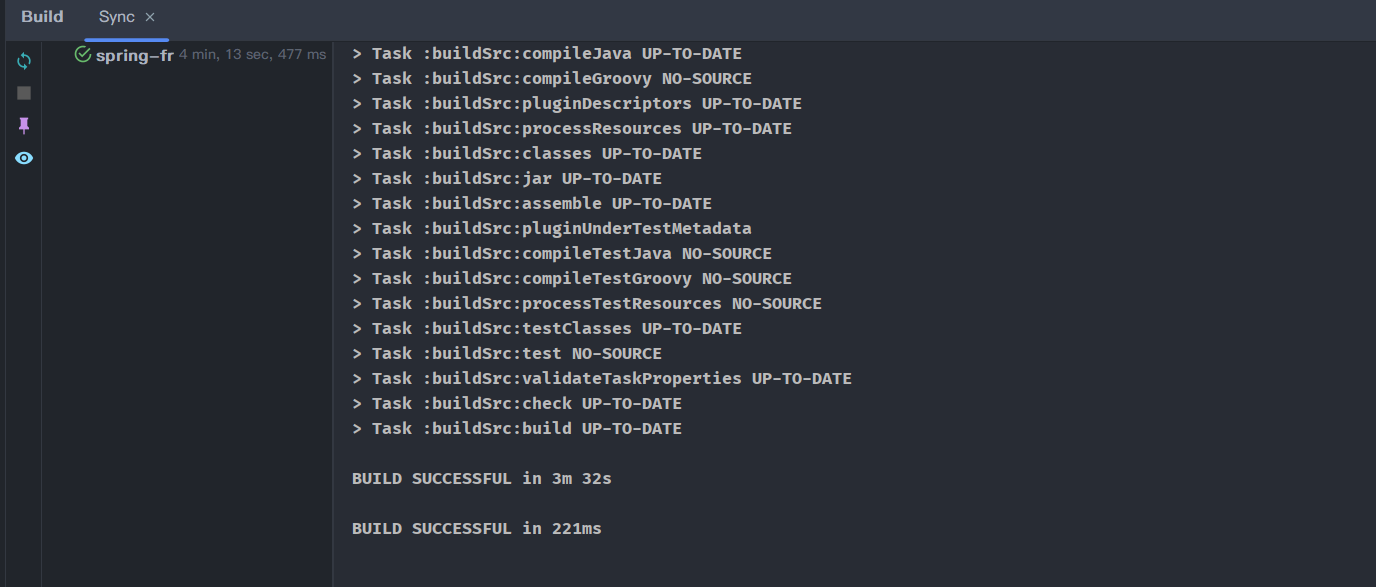
那么接下来,我们就可以开始编写模块开始验证了。
5. 构建测试模块
为了阅读源码,我们需要自己建立一个模块用来测试实例以及调试源码。
5.1 新建 Module
选择 Gradle 构建工具进行项目创建,完成后整体结构如下:
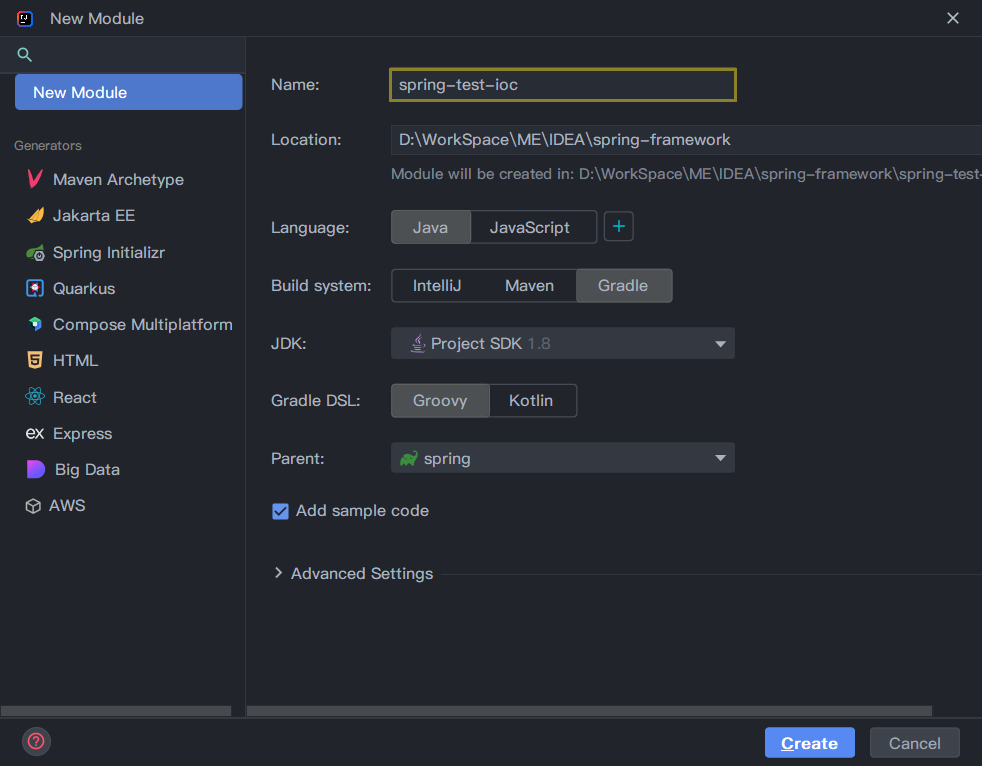
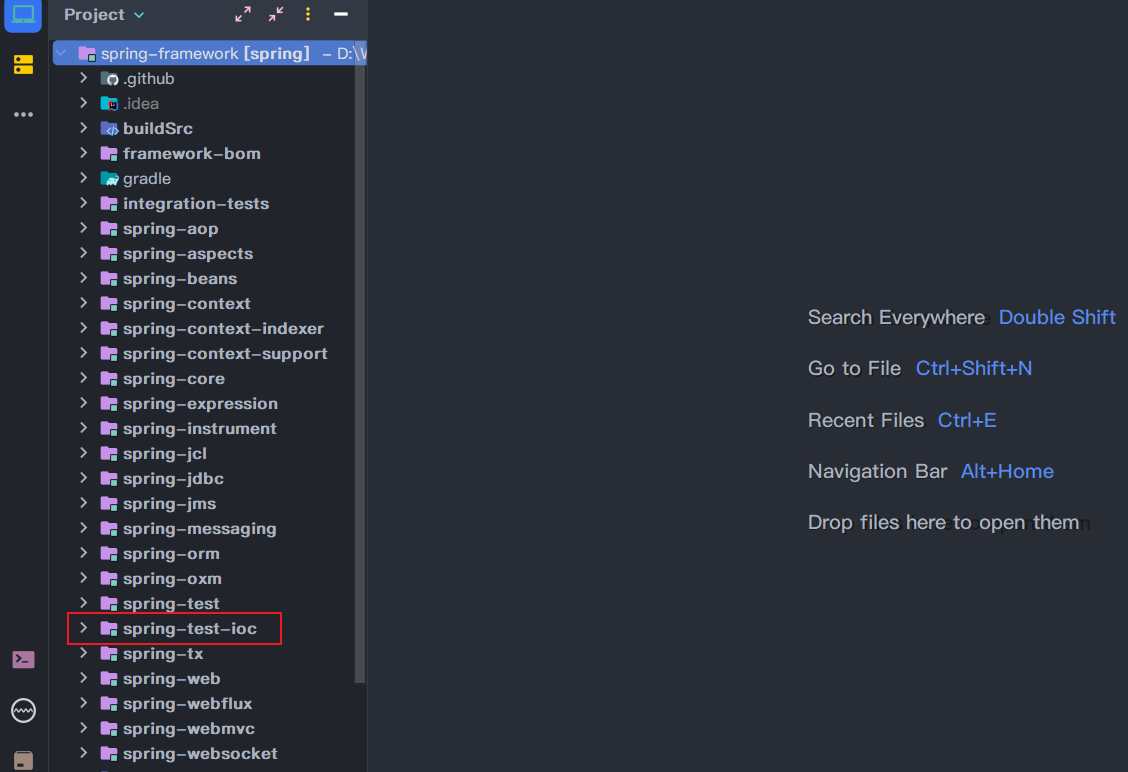
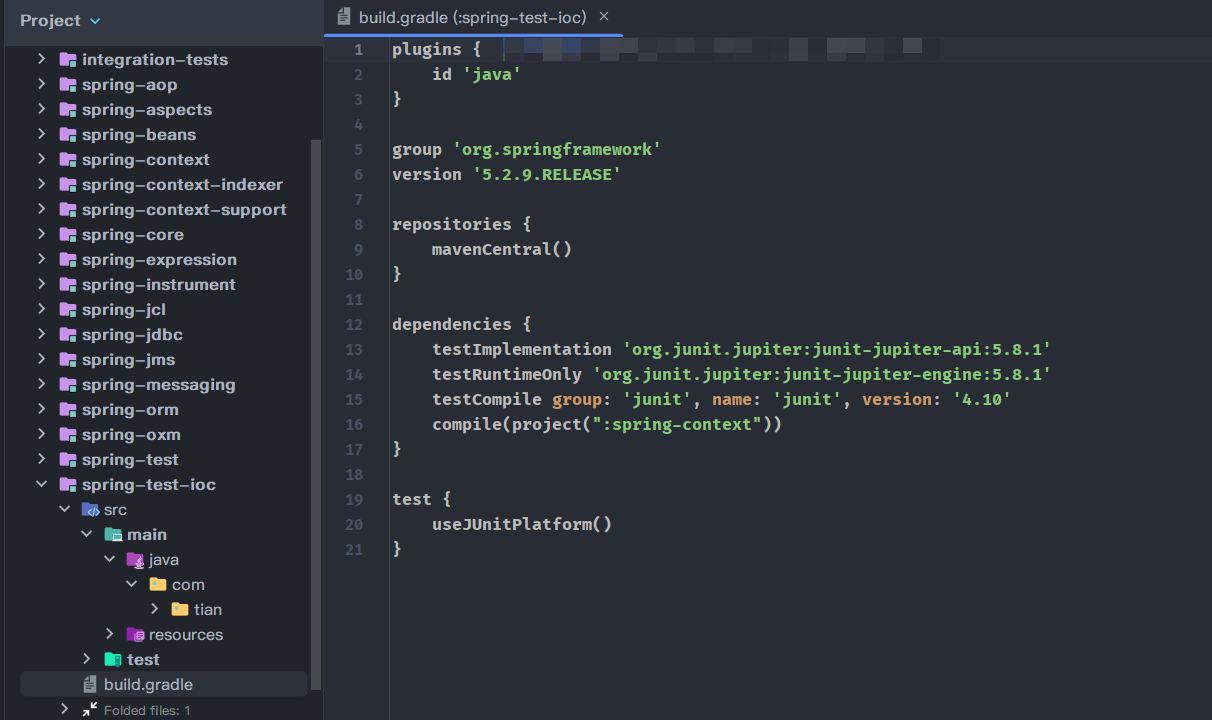
5.2 引入依赖
在 build.gradle 中共引入依赖,便于后续的测试:
plugins {
    id "java"
}

group "org.springframework"
version "5.2.9.RELEASE"

repositories {
    mavenCentral()
}

dependencies {
    testImplementation "org.junit.jupiter:junit-jupiter-api:5.8.1"
    testRuntimeOnly "org.junit.jupiter:junit-jupiter-engine:5.8.1"
    testCompile group: "junit", name: "junit", version: "4.10"
    compile(project(":spring-context"))
}

test {
    useJUnitPlatform()
}
5.3 编写代码
新建一个类用于测试(加载到 IOC 容器中):
public class MyTestBean {

	private String testStr = "testStr";

	public String getTestStr() {
		return testStr;
	}

	public void setTestStr(String testStr) {
		this.testStr = testStr;
	}
}
在 resources 目录下新建 BeanFactoryTest.xml 文件,配置 bean 定义:
<?xml version="1.0" encoding="UTF-8"?>
<beans xmlns="http://www.springframework.org/schema/beans"
	   xmlns:xsi="http://www.w3.org/2001/XMLSchema-instance"
	   xsi:schemaLocation="http://www.springframework.org/schema/beans
        http://www.springframework.org/schema/beans/spring-beans.xsd">

	<bean id="myTestBean" class="com.tian.MyTestBean"/>
</beans>
在 test 文件夹中通过 junit 进行测试:
public class BeanFactoryTests {

	/**
	 * 手动加载 xml 获取 bean
	 */
	@Test
	public void simpleLoadTest() {
		// 基于xml加载并注册Bean的流程
		BeanFactory bf = new XmlBeanFactory(new ClassPathResource("BeanFactoryTest.xml"));
		MyTestBean myTestBean = (MyTestBean) bf.getBean("myTestBean");
		Assert.assertEquals("testStr", myTestBean.getTestStr());
	}

	@Test
	public void testClassPathXmlApplication() {
		// 基于 xml 加载并注册 Bean 的流程
		ClassPathXmlApplicationContext applicationContext = new ClassPathXmlApplicationContext("classpath:BeanFactoryTest.xml");
		MyTestBean myTestBean = (MyTestBean) applicationContext.getBean("myTestBean");
		Assert.assertEquals("testStr", myTestBean.getTestStr());
	}
}
运行上述的其中一个测试方法,如下图没有错误即表示我们的环境搭建完成:


